

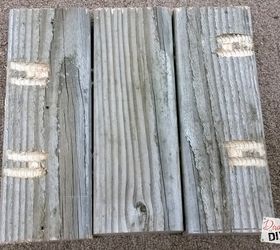
Step 1) Using the kreg jig, drill 4 pocket holes in 4 of the "A" boards.
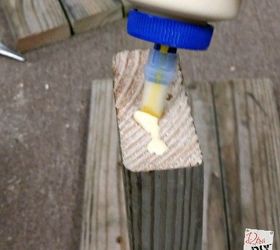
Step 2) Screw 2 of the pocket-hole-drilled "A" boards to one of the undrilled "A" boards. Repeat with the other 3 "A" boards. This creates the top and bottom of your lantern.
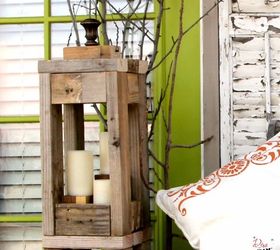
Step 5) Flip the lantern over and start attaching "C" and "D" boards
Step 6) Set the top of the lantern in place over the upright "B" boards. Secure with wood screws.
Step 7) Using wood screws, attach your remaining "C" board to the top of lantern for added dimension. Attach optional finial if desired.
Step 8) Screw in a 1.5 screw to each side of your topper board. Attach baling wiring to create a handle.

Original article and pictures take http://www.hometalk.com/14349507/rustic-lantern-easy-and-affordable-with-2x4s site
No comments:
Post a Comment